Android

Build Real Time Chat Using Firebase

-
Written By:
Vipan Vyas
-
Posted on
11 Feb 2020
Let's build Real Time Chat using Firebase. You don’t have to create and maintain a separate database to store firebase chat. Firebase do it automatically for you. Just create an app and database will be maintained by firebase automatically.
Initially, Create and Setup Firebase Project
-
Go to the Firebase Console.
-
Select Add project.
-
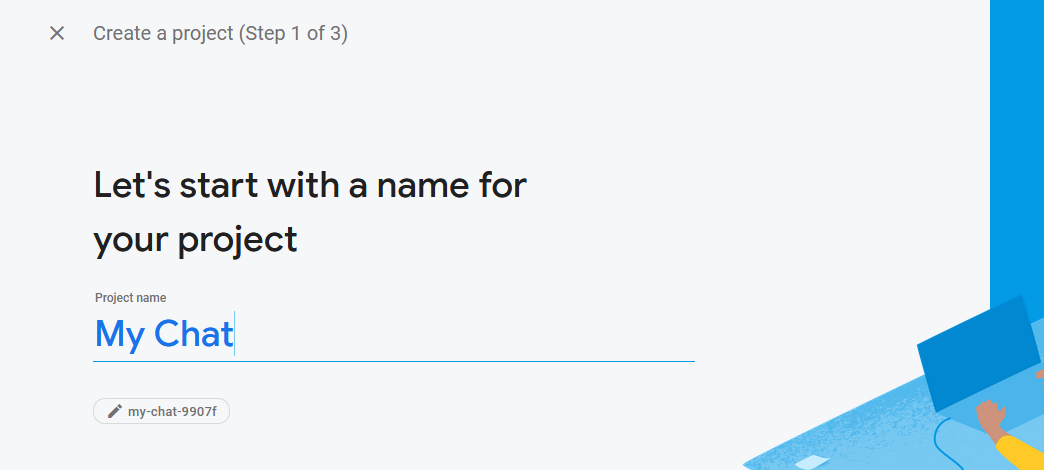
Enter a project name.
Now, you can follow the remaining setup steps in the Firebase console, click Create project (or Add Firebase, if you're using an existing Google project).
Next, Add google-services.json file to your app:
- After adding the package name and SHA1 select Register
- Then, Click Download google-services.json to obtain your Firebase Android config file
- Now, copy the google-services.json file into the app directory of your project.

Further, Add google-services plugin to your app
Here, The google-services plugin uses the google-services.json file for configuring your application to use Firebase. This line should already be added to the end of the build.gradle file in the app directory of your project app.
apply plugin: 'com.google.gms.google-services'
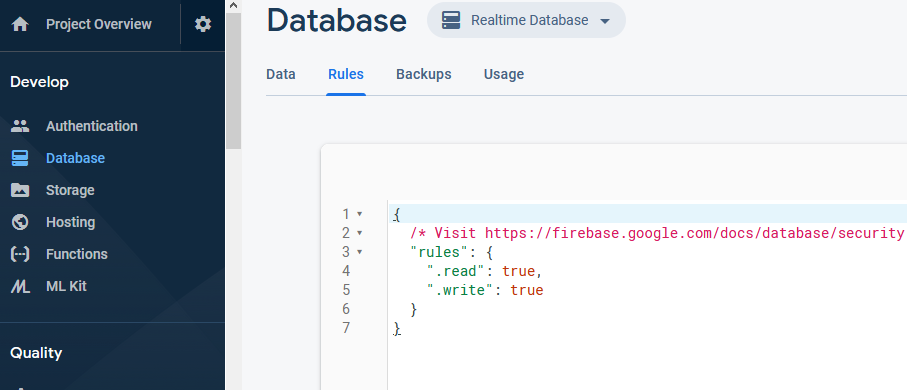
Enable Authentication Now: In firebase console, Enable your authentication database rules.
{

"rules": {

".read": "auth != null",

".write": "auth != null"

}

}
- Add Firebase Auth dependency and Read and Write Data
Add in app/build.gradle:
implementation 'com.google.firebase:firebase-auth'

implementation 'com.google.firebase:firebase-database'

implementation 'com.google.firebase:firebase-storage'
- Sync your project Now: After adding dependencies sync your project.
- Now we will move to Main Coding part: Firstly, we will initiate authentication.
private FirebaseAuth mFirebaseAuth; // Firebase instance variables


private FirebaseUser mFirebaseUser;


mFirebaseAuth = FirebaseAuth.getInstance(); // Initialize FirebaseAuth


mFirebaseUser = mFirebaseAuth.getCurrentUser();

if (mFirebaseUser == null) {

// startActivity(new Intent(this, SignInActivity.class));

// finish();

return;

} else {

mUsername = mFirebaseUser.getDisplayName();

if (mFirebaseUser.getPhotoUrl() != null) {

mPhotoUrl = mFirebaseUser.getPhotoUrl().toString();

}

}
Login With a firebase: Need to login with a firebase to get details.
mFirebaseAuth.signInWithCustomToken(customToken)

.addOnCompleteListener(this, new OnCompleteListener<AuthResult>() {

@Override

public void onComplete(@NonNull Task<AuthResult> task) {

if (task.isSuccessful()) {


FirebaseUser current_user = FirebaseAuth.getInstance().getCurrentUser();

final String uid = current_user.getUid();


}

}

});
Add Users: Following below steps to add users into the firebase database.
mFirebaseAuth.getReference().child("Users").child(uid);

String device_token = shpfcm.getString("fcm","");

HashMap<String, String> userMap = new HashMap<>();

userMap.put("name", getIntent().getStringExtra("name"));

userMap.put("status", "Welcome to My Chat App.");

userMap.put("image", "default");

userMap.put("phone", getIntent().getStringExtra("code")+getIntent().getStringExtra("mobile"));

userMap.put("thumb_image", "default");

userMap.put("requests", "0");

userMap.put("unread_total", "0");

userMap.put("device_token", device_token);


mDatabase.setValue(userMap).addOnCompleteListener(new OnCompleteListener<Void>() {

@Override

public void onComplete(@NonNull Task<Void> task) {


if(task.isSuccessful()){


}

}

});
Finally, you can see users into the firebase database like this:
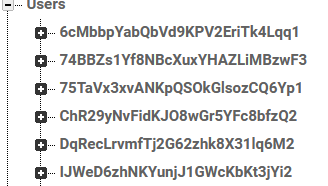
These are easy steps to setup real time chat using firebase completely. Follow us to stay updated for upcoming article "How to make friends in Firebase Database". Enjoy!!!
Recent Posts
- Plot No. B1/823/1A, Aman Nagar, Tanda Road, Nr. KMV College, Jalandhar.
- +91-9815075800
- harjitsingh575
- info@intellisensetechnology.ca
Copyright © 2026 Intellisense Technology All Rights Reserved
Chat with Us

